Setting Up HTML Environment

In this section, you will learn how to set up your HTML development environment and create your first HTML file. Setting up your HTML environment is the first step in creating web pages using HTML. You need a text editor to write your HTML code and a web browser to view your web pages.
Setting Up Your HTML Environment
To set up your HTML environment, you need to install a text editor and a web browser. Here are the steps to set up your HTML environment:
Step 1: Install a Text Editor
A text editor is a software application used for creating and editing plain text files. You can use a text editor to write your HTML code. There are many text editors available, but some popular text editors for web development are:
- Visual Studio Code: A free source code editor developed by Microsoft.
- Sublime Text: A proprietary cross-platform source code editor.
- Atom: A free and open-source text and source code editor.
- Notepad++: A free source code editor for Windows.
- Brackets: A free source code editor for web development.
- Vim: A highly configurable text editor built to enable efficient text editing.
- Emacs: An extensible, customizable, free/libre text editor.
You can choose any text editor based on your preference and install it on your computer.
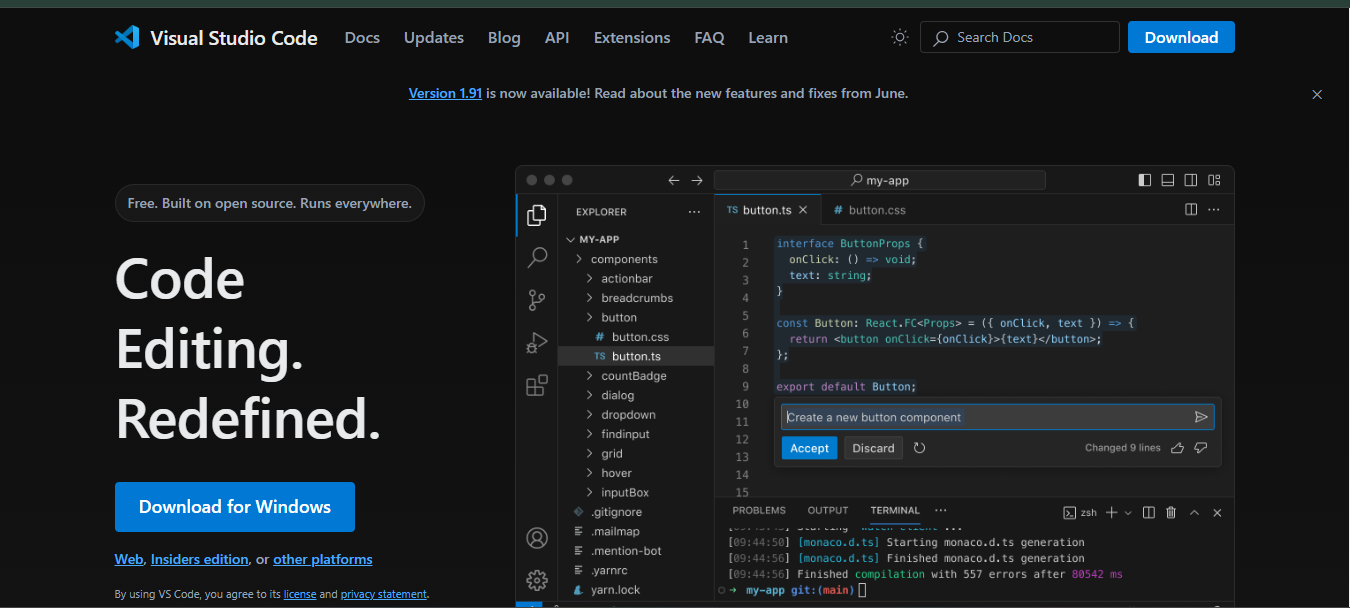
We recommend using Visual Studio Code as it is a popular text editor for web development and has many features that make it easy to write and edit HTML code.
Visual Studio Code is a free source code editor developed by Microsoft. It has built-in support for HTML, CSS, and JavaScript, as well as extensions that can enhance your web development experience. You can download Visual Studio Code from the official website: https://code.visualstudio.com/.
Step 2: Install a Web Browser
A web browser is a software application used to access information on the World Wide Web. You can use a web browser to view your web pages. There are many web browsers available, but some popular web browsers for web development are:
- Google Chrome: A fast, secure, and easy-to-use web browser developed by Google.
- Mozilla Firefox: A free and open-source web browser developed by the Mozilla Foundation.
- Microsoft Edge: A web browser developed by Microsoft.
- Safari: A web browser developed by Apple Inc.
- Opera: A web browser developed by Opera Software.
- Brave: A free and open-source web browser developed by Brave Software.
You can choose any web browser based on your preference and install it on your computer.
We recommend using Google Chrome as it is a popular web browser with good developer tools that make it easy to debug and test your web pages.
Basic Information For Setting Up HTML Environment
Visual Studio Code is a popular text editor for web development that provides many features to help you write and edit HTML code. It has built-in support for HTML, CSS, and JavaScript, as well as extensions that can enhance your web development experience.
To set up your HTML environment with Visual Studio Code, follow these steps:
- Install Visual Studio Code on your computer. You can download Visual Studio Code from the official website: https://code.visualstudio.com/.
- Open Visual Studio Code.
- Create a new file by clicking on
FileNew File. - Save the file with the
.htmlextension, such asindex.html. - Write your HTML code in the file.
- Save the file.
- Open the HTML file in your web browser to view the web page.
- install the Live Server extension in Visual Studio Code to view the web page in real-time.
Congratulations! You have set up your HTML environment with Visual Studio Code. You can now create and view web pages using HTML.
Creating Your First HTML File
To create your first HTML file, follow these steps:
-
Open your text editor.
-
Create a new file and save it with the
.htmlextension, such asindex.html. -
Write the following HTML code in the file:
index.html<!DOCTYPE html>
<html>
<head>
<title>My First Web Page</title>
</head>
<body>
<h1>Hello, World!</h1>
<p>Welcome to my first web page.</p>
</body>
</html> -
Save the file.
-
Open the HTML file in your web browser to view the web page.
-
You should see the following output in your web browser and try to use url
http://127.0.0.1:5500/index.htmlto view the web page:
Hello, World!
Welcome to my first web page.
In this example, the HTML file contains the following elements:
<!DOCTYPE html>: This declaration defines the document type and version of HTML.<html>: This element is the root element of an HTML page.<head>: This element contains meta-information about the HTML document.<title>: This element specifies the title of the HTML document.<body>: This element contains the content of the HTML document.<h1>: This element defines a heading.<p>: This element defines a paragraph.- The text between the opening and closing tags of each element is the content of that element.
- The HTML file is saved with the
.htmlextension, such asindex.html.
Congratulations! You have created your first web page using HTML. In the next section, you will learn more about HTML elements and attributes.
Summary
In this section, you learned how to set up your HTML development environment and create your first HTML file. Setting up your HTML environment is the first step in creating web pages using HTML. You need a text editor to write your HTML code and a web browser to view your web pages.
